


Article
DIY Project: Kitchen Chalkboard
Make your own kitchen chalkboard to write erasable grocery lists, menus, memos and more. Here are instructions for this fun DIY project.
Read More May 4, 2016 | Blain's Farm & FleetAre you ready to give your deck a refresh? Whether it’s weather-worn or you’re just ready for a change, the right stain can shield your deck from harsh elements and enhance its natural beauty.
Staining your deck helps protect the wood from moisture, UV rays, and foot traffic. This protective layer can extend its life, saving you money and hassle in the long run.
Learn how to stain your deck with this step-by-step guide from Blain’s Farm & Fleet.
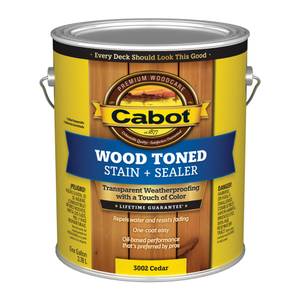
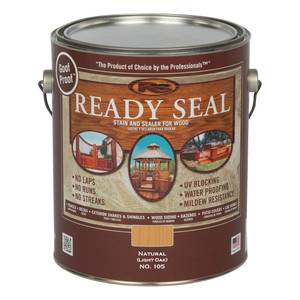
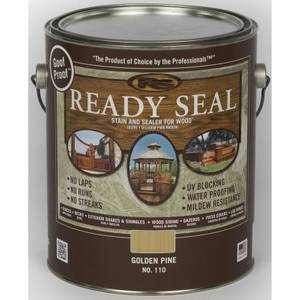
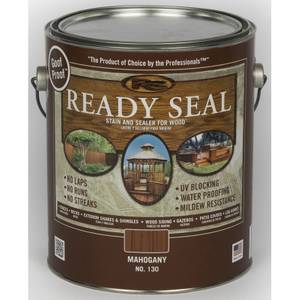
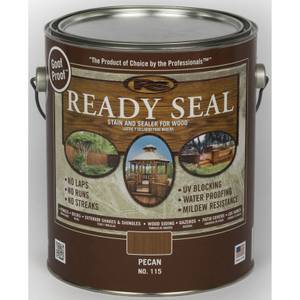
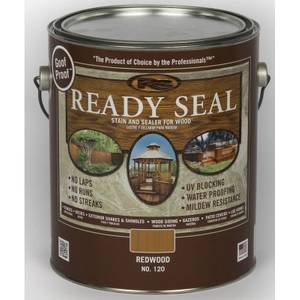
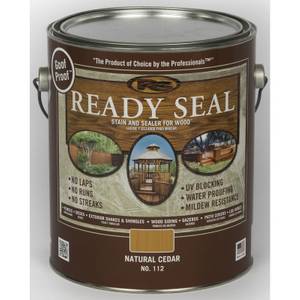
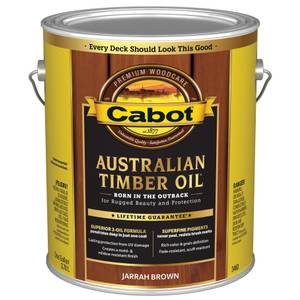
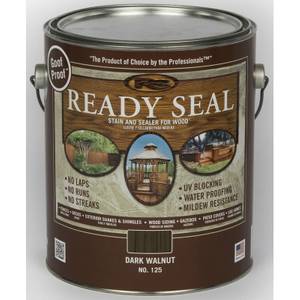
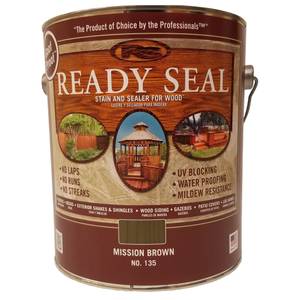
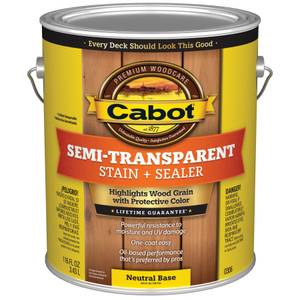
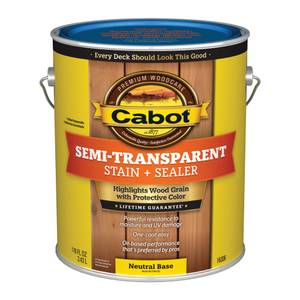
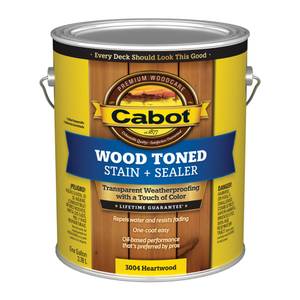
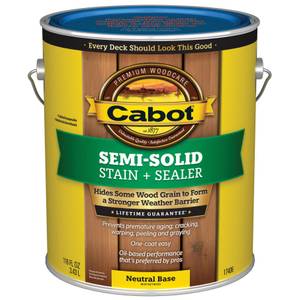
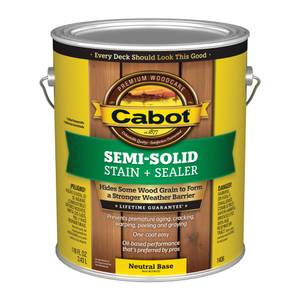
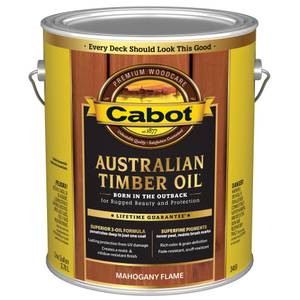
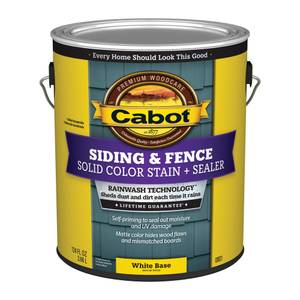
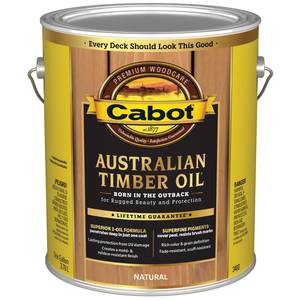
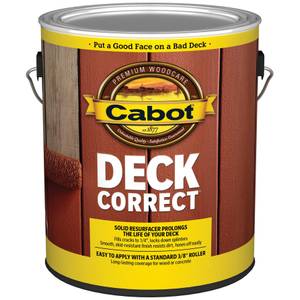
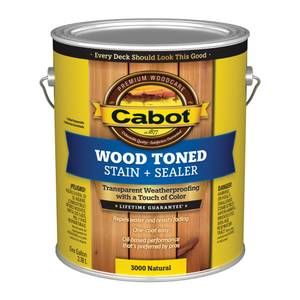
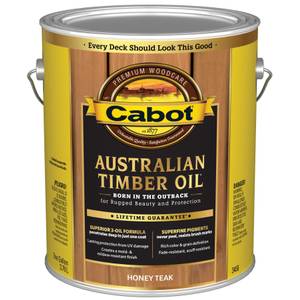
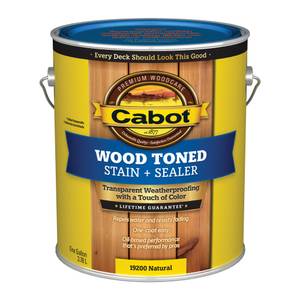
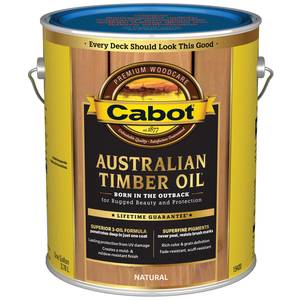
Selecting the right stain is crucial. Consider the look you want to achieve and how much protection you need. Here’s a breakdown of the four main types of stains:
The first step to bringing life back to your deck is giving it a good cleaning. After constant exposure to foot traffic, weather elements, and simple aging, your deck will probably show signs of mildew, dirt, and wood damage that can diminish its appeal.
Remove all furniture and plants from the deck, and cover any surrounding plants to protect them from harsh chemicals. Using a push broom, sweep the deck to get off any dirt and debris.
Then, use a garden hose to spray away any remaining dirt. You can also use a pressure washer for this step. But it’s important to use it properly, as improper use can damage the wood and be potentially dangerous.
Following the instructions of your wood or deck cleaner, mix the solution with water, and apply it to the deck using either a roller or a sprayer. Apply the cleaner to small areas at a time to prevent it from drying. Let the cleaner sit for about 10 minutes, and then use a scrub brush to scrub off any dirt. Once you’ve scrubbed off all the residue, fully rinse the deck using your garden hose or power washer.
Let the deck dry completely, which may take up to a couple of days. Then, examine the deck for any splintered areas that need to be sanded. Sanding these areas allows for an even application of the wood stain.
We recommend using a medium-grit sandpaper on your deck, and pay special attention to any rough areas. Remember to clean off any dust before moving onto staining.
Stir the can of deck stain thoroughly, and pour it into a painting tray. Make sure not to shake the can, as that can cause bubbles to form, which will prevent the stain from being applied evenly. Using painter’s tape, tape off anything you don’t want to get stain on, such as the siding of your house.
Starting with the highest parts of the deck, such as railings and posts, apply the stain using long, thin strokes with a paint brush. Continue downward to the deck boards, again using long strokes. You can apply another coat if needed, but two thin coats are better than one thick coat, as that can cause puddling. If puddling occurs, you can use a paint roller to even out the stain and work it into the wood.
Once you’ve applied the stain, allow the deck to fully dry (give it at least one day). We recommend waiting several days before exposing it to high volumes of foot traffic. But even though you may not be able to walk on it for a day or two, you can still stand back and admire the great job you did!
To extend the life of your stain, regular maintenance is key. Keep your deck clean and clear of debris. Consider reapplying a top coat of stain every few years, or as needed, to boost its appearance and protection.
Staining your deck not only boosts its aesthetic appeal but also protects it from wear and tear. By following these steps and choosing the right stain, you’re ensuring your deck remains a vibrant and durable part of your home for years to come.
For more DIY projects like this one, check out our other Deck & Patio articles.
