Keeping your home clean can get expensive and create unnecessary waste, especially when relying on store-bought cleaning wipes. Making your own DIY cleaning wipes at home lets you take control of what goes into them, saves money, and is more eco-friendly.
Plus, they’re simple to make, and you might already have most of the supplies you need at home. Follow this step-by-step guide from Blain’s Farm & Fleet to create your own DIY cleaning wipes today!
Before we jump into the instructions, here’s why making your own cleaning wipes is worth the effort:
Cost-Effective: You can reuse materials like old washcloths or rags, and the homemade solution costs just pennies per wipe.
Safer Ingredients: With DIY wipes, you know exactly what ingredients you’re using. This solution uses natural ingredients like vinegar, which are safer for your skin and lungs compared to harsh chemicals.
Customizable Scents: With essential oils, you can tailor the scent to your preference.
Eco-Friendly: Reusable cloths help reduce waste and move away from single-use paper towels.
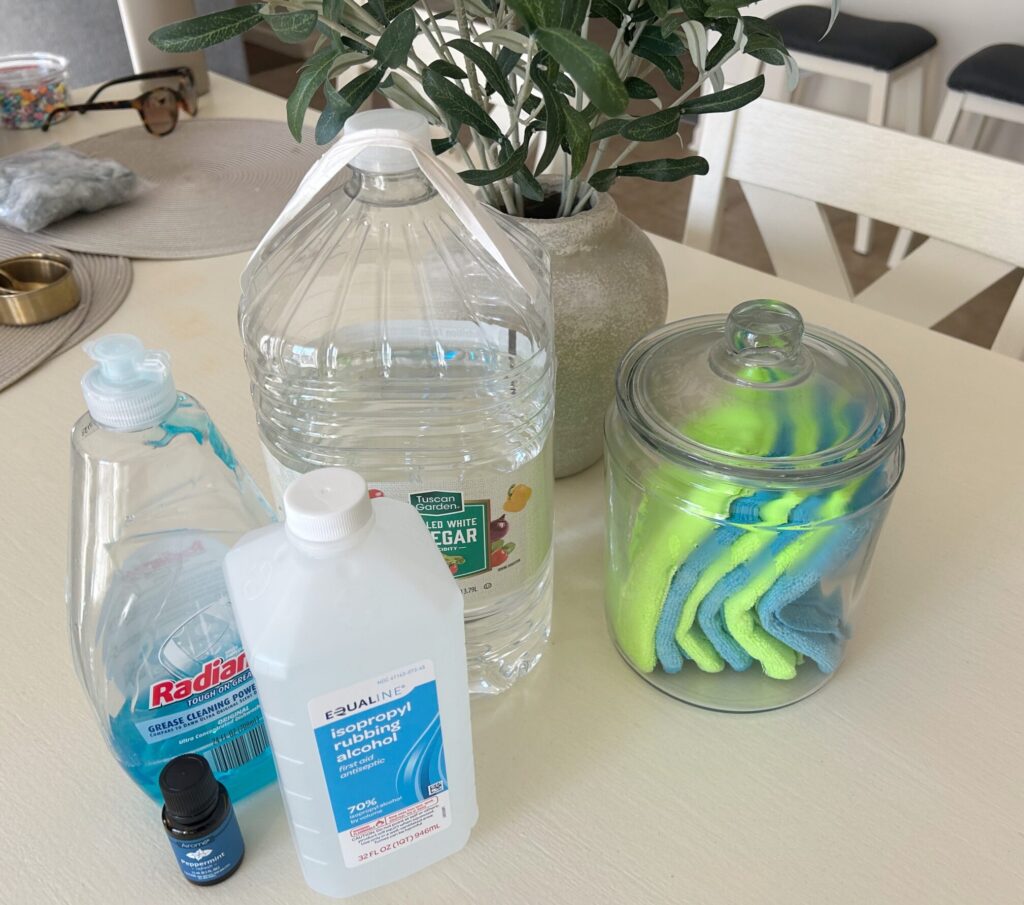
What You’ll Need
Gather the following materials and ingredients to make your homemade cleaning wipes:
1/2 cup vinegar: A natural deodorizer, germ killer, and mold deterrent. It’s highly effective against bacteria while being gentle enough to use in your home.
1/4 cup rubbing alcohol: Helps kill germs, sanitize, and dry quickly, making the wipes ideal for frequently touched areas.
Follow these steps to create your own cleaning wipes:
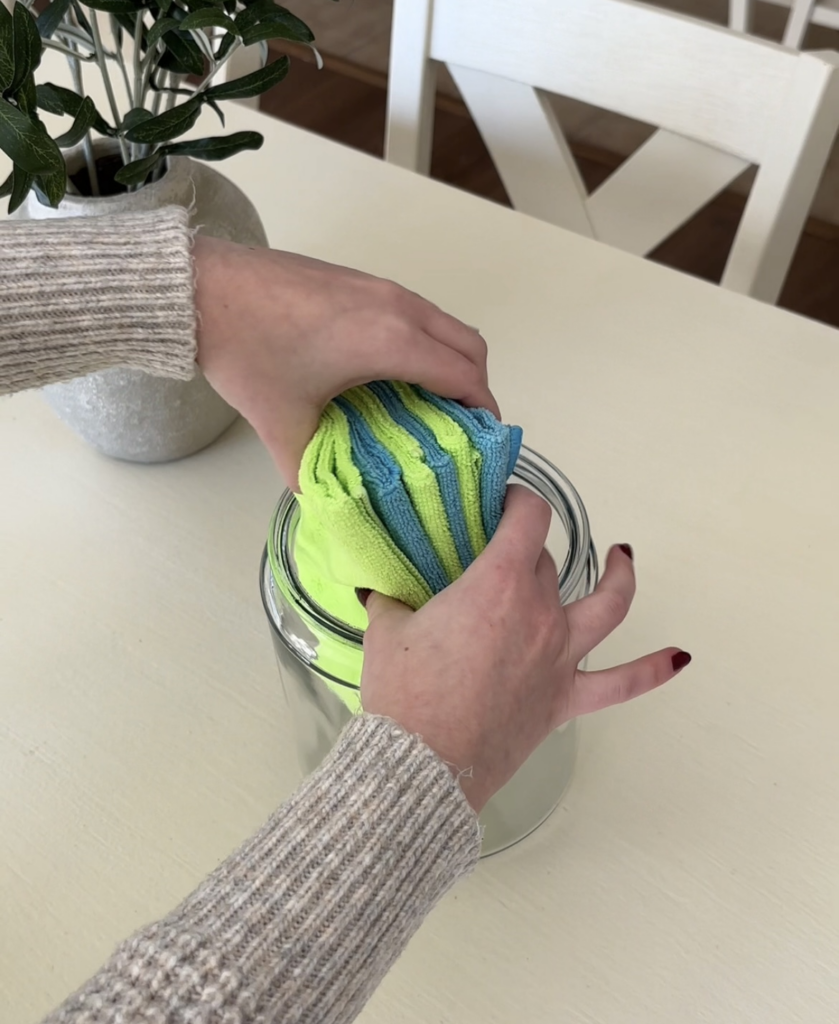
Step 1: Prepare Your Container
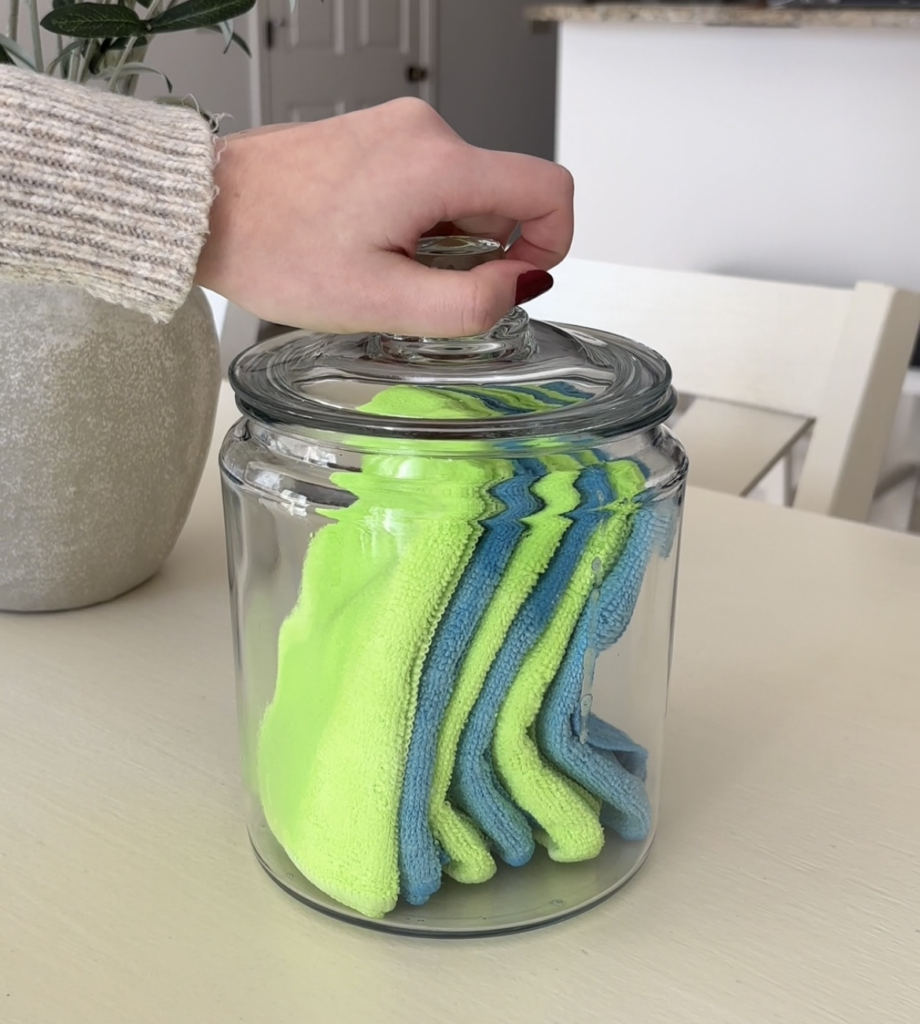
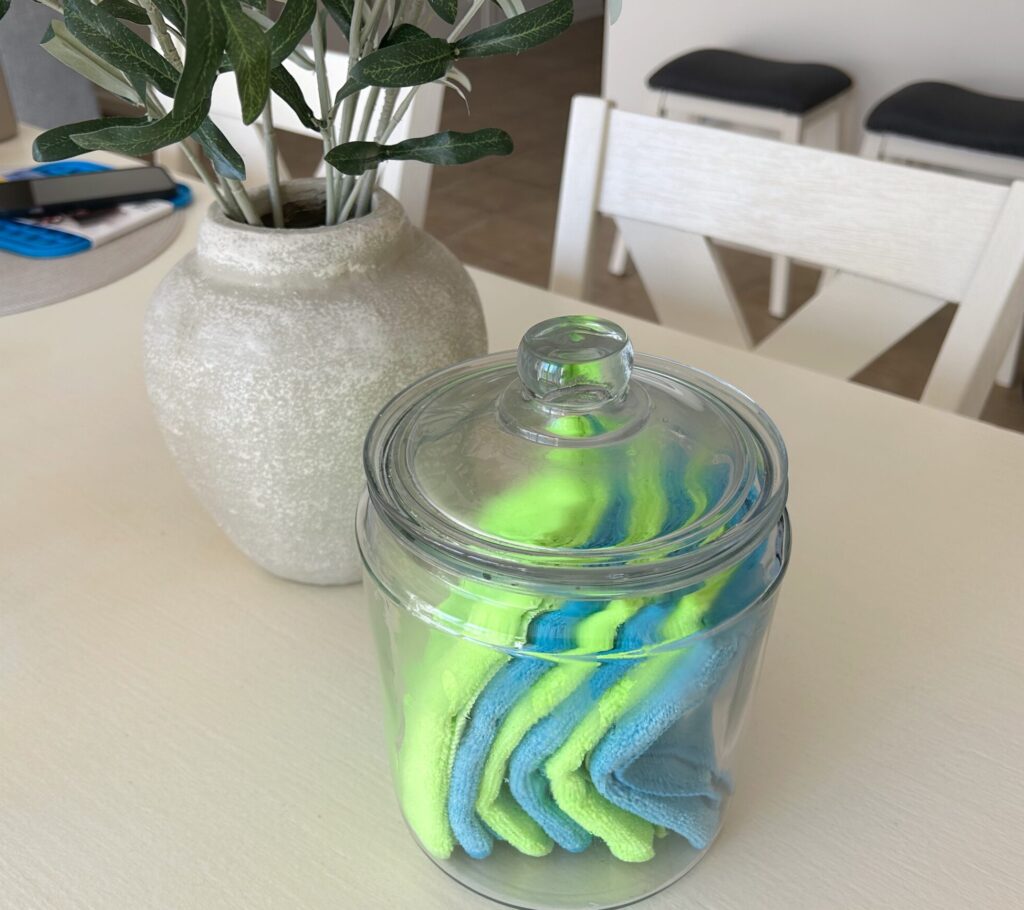
Find a sturdy, sealable container to store your wipes. It could be an old baby wipe container, coffee canister, or anything else you have lying around the house. We used a mason jar.
Place your washcloths or rags into your chosen container. Fold them or neatly stack them flat, depending on the container’s size. If you’re using a jar, roll the cloths loosely to fit snugly inside.
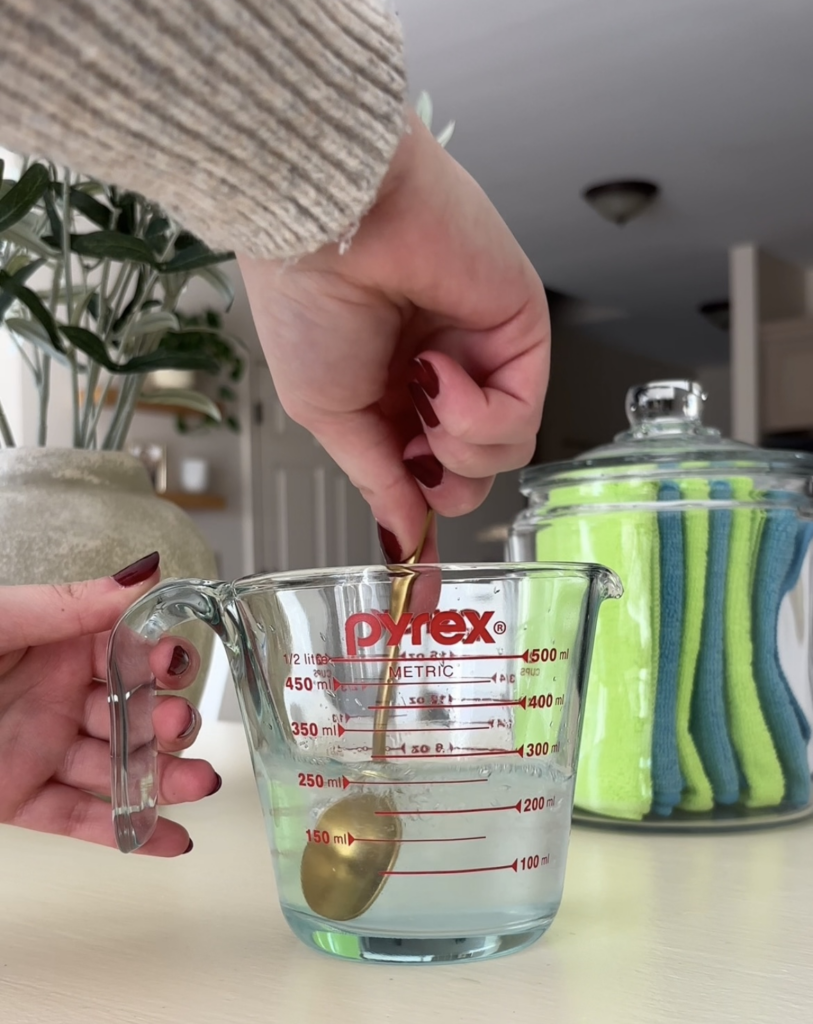
Step 2: Mix the Cleaning Solution
In a small bowl, mix together the vinegar, rubbing alcohol, water, and liquid dish soap. You may also add in your preferred essential oil to provide a hint of your favorite scent and some extra antibacterial properties. Good options include lavender, lemon, or tea tree oil.
Mix just enough to combine the ingredients. You don’t want suds to form.
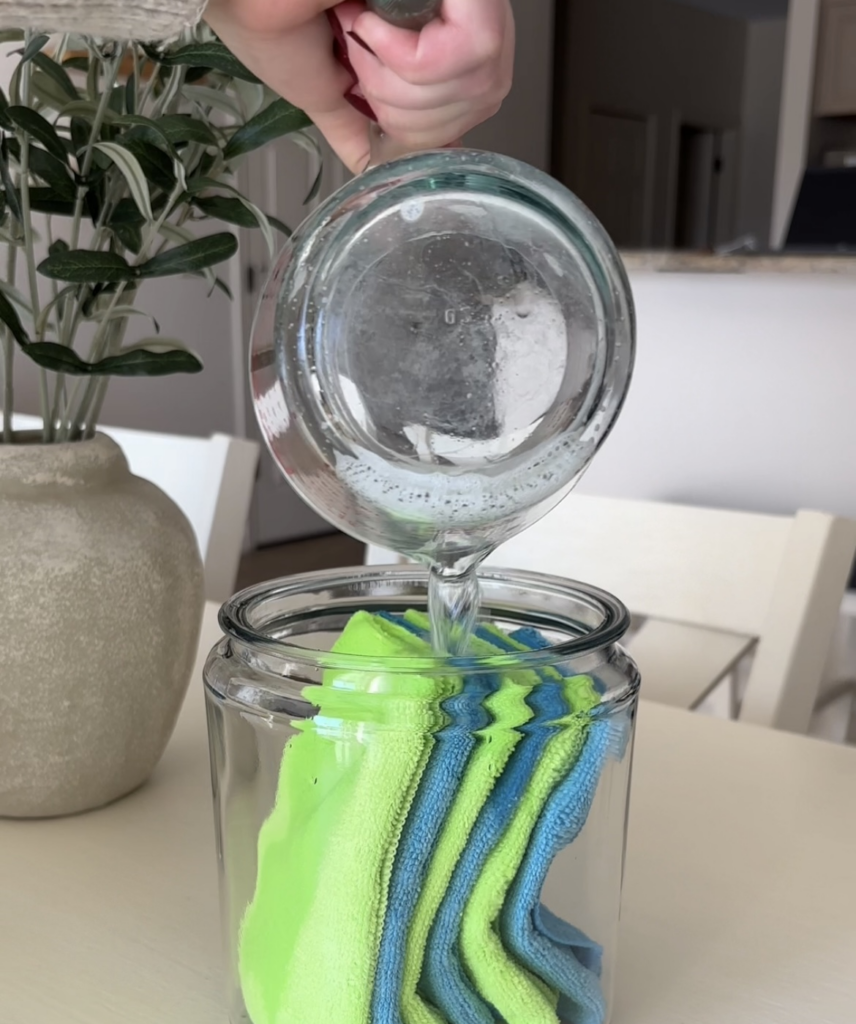
Step 3: Saturate the Wipes
Slowly pour the cleaning solution evenly over the washcloths. Give it a few minutes to allow the liquid to saturate all the layers. If the fabric on the top looks dry, press down gently to help the solution soak through evenly.
Step 4: Seal the Container
Close the container tightly to keep the wipes moist and ready for use. Store it somewhere handy, such as under the sink or in a cleaning caddy.
And that’s it! Your DIY cleaning wipes are now ready to tackle messes around your home.
Tips for Using DIY Cleaning Wipes
Now that you’ve made your wipes, here are some pointers to get the most out of them:
Use on Non-Porous Surfaces: These wipes work best on countertops, sinks, stovetops, and other non-porous surfaces. Avoid using them on untreated wood or delicate materials since the rubbing alcohol could damage the finish.
Reusable Cloths Care: After using a wipe, simply toss it into your laundry bin. Wash them with a gentle detergent and air-dry for your next batch.
Keep Them Fresh: If you notice the wipes drying out, mix a small batch of cleaning solution and re-saturate them as needed.
Use Within Two Weeks: Because these wipes contain water, they have a limited shelf life. If you don’t use them up quickly, toss and make a new batch to avoid bacterial buildup.
Now that you know how to make your own cleaning wipes, it’s time to roll up your sleeves and give it a try. You’ll save money, reduce waste, and enjoy a fresh, clean home. Plus, the satisfaction of creating something practical with your own hands is well worth it.