


How ToArticle
How to Repot Plants and Flowers
If your plants have outgrown their resident pot, it may be time to repot them. Learn how to repot plants and flowers yourself.
Read More May 6, 2016 | Blain's Farm & FleetGrowing your favorite herbs at home can be both fun and fulfilling. Imagine having basil, parsley, or thyme at your fingertips every time you cook. There’s nothing quite like the taste of fresh, homegrown herbs.
If you’re short on space or prefer a more contained gardening style, a DIY mason jar herb garden is the perfect solution. This project is not only practical but also adds a charming touch to your patio or windowsill.
Starting a mason jar herb garden might seem daunting at first. But it’s actually an easy and enjoyable process that anyone can do. Whether you’re a seasoned gardener or just starting out, this guide from Blain’s Farm & Fleet will walk you through every step to creating your own DIY mason jar herb garden at home.
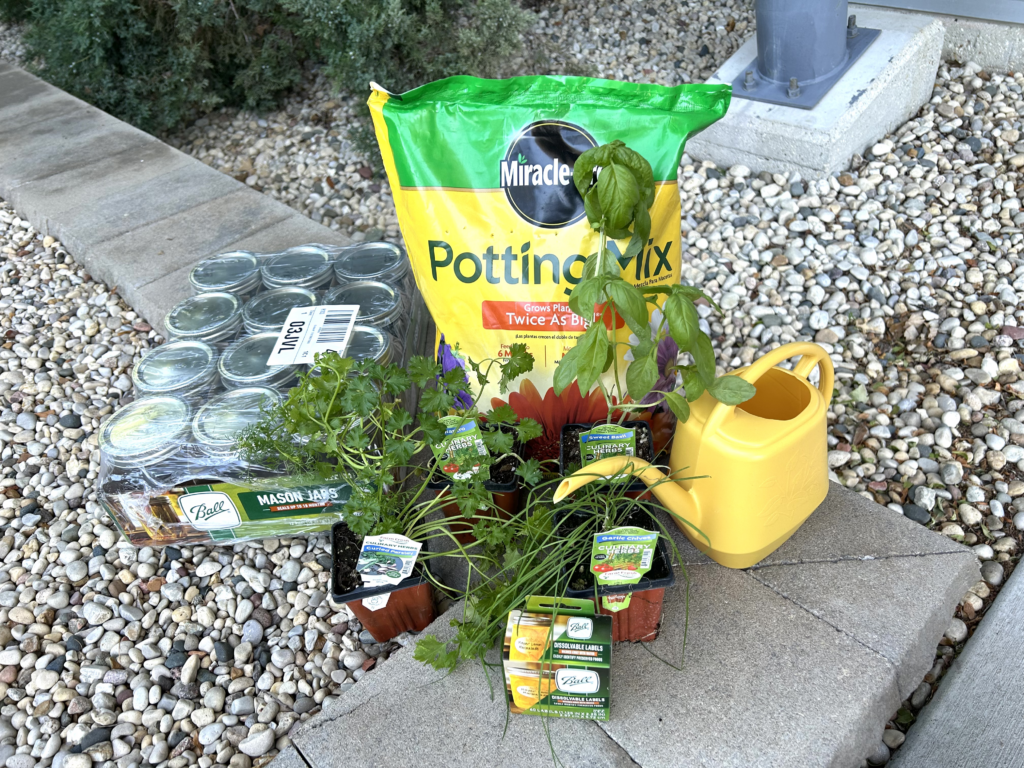

Start by placing a layer of small stones or pebbles at the bottom of each mason jar. This layer helps with drainage, as it prevents water from pooling at the plant roots and causing rot.
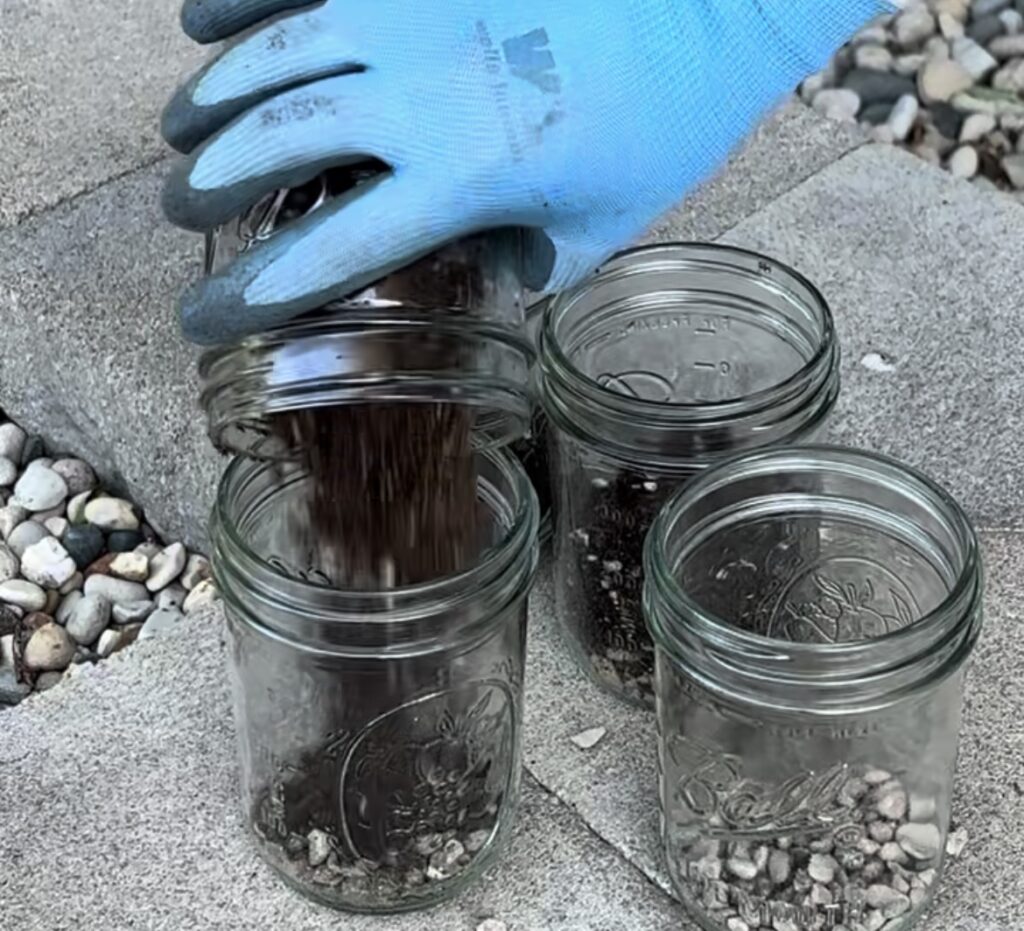
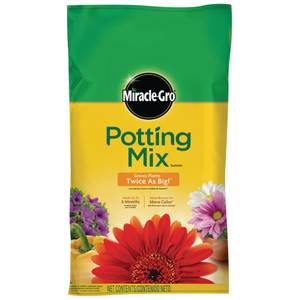
Fill the jars about 1/3 of the way with potting mix if you’re planting seedlings like we did. Otherwise, fill the soil up to about an inch below the rim of the jar if you’re starting from seeds. Make sure the soil is lightly moist before adding it to the jars. This helps the seeds or seedlings acclimate better.
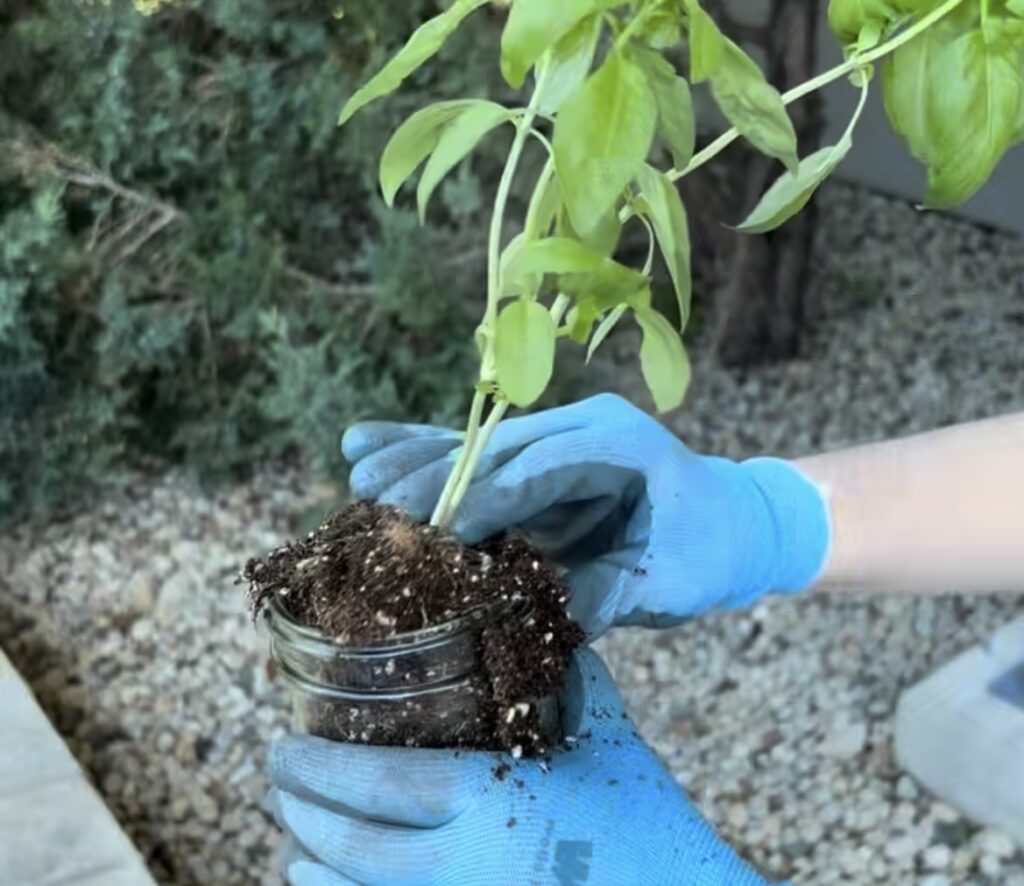
We used seedlings for our herb garden, but you can use either seeds or seedlings for this project.
If you’re using seeds:
If you’re using seedlings:
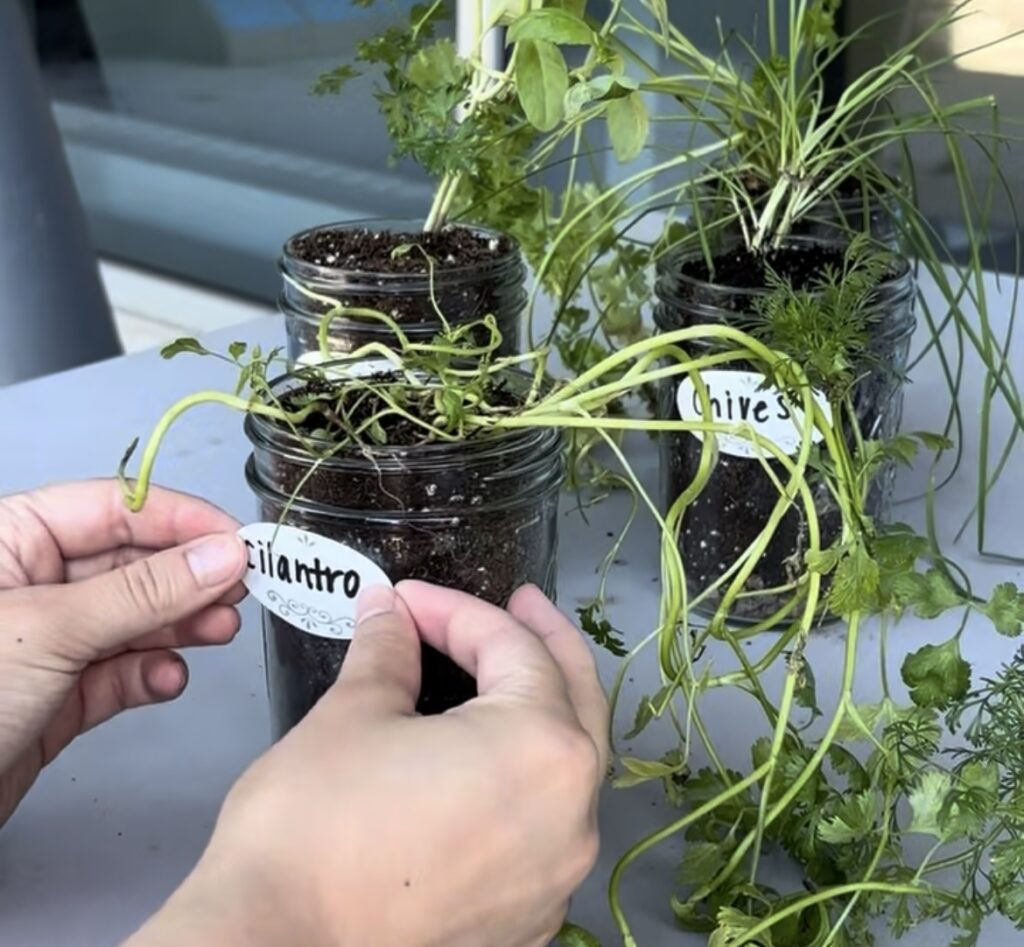
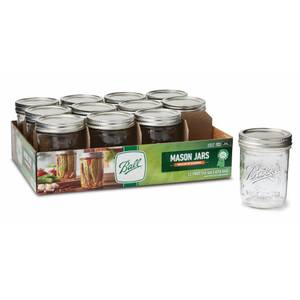
Label each mason jar with the name of the herb. This is especially useful if you’re growing multiple types of herbs. You can use a marker to write directly on the jar or attach a small tag. We used canning jar labels.
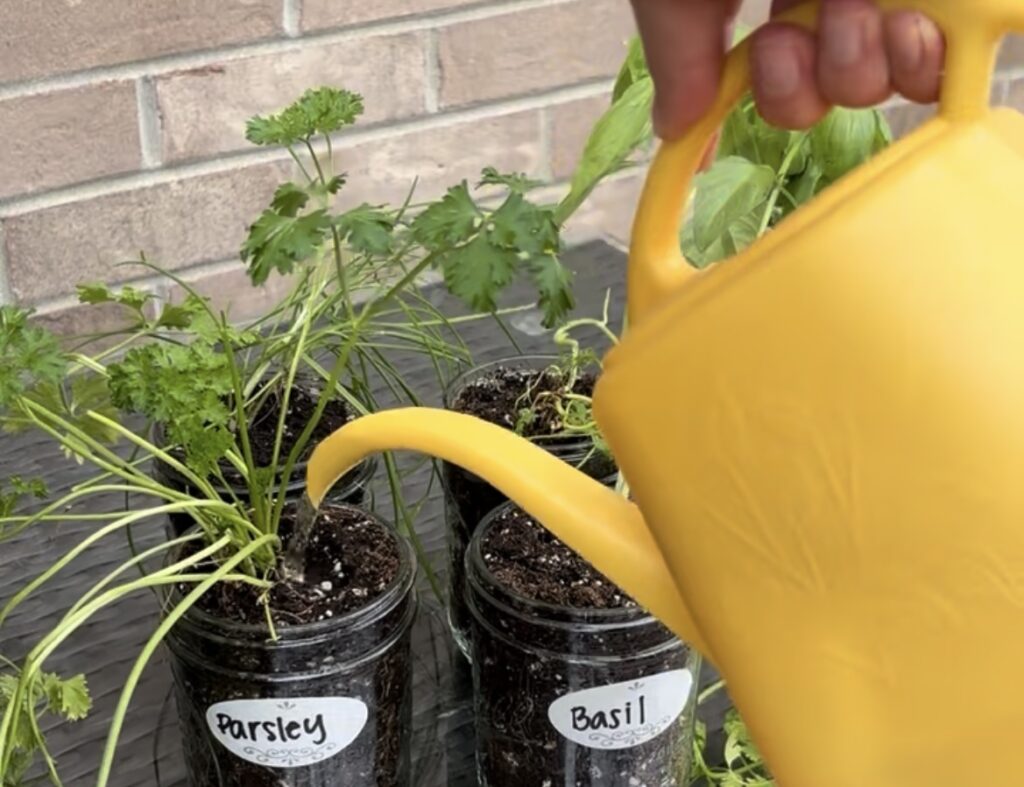
Use a watering can to moisten the soil. Ensure the water reaches the pebbles at the bottom without oversaturating the soil. The goal is to keep the soil consistently moist but not waterlogged.
Place your mason jar herb garden in a location where it can receive six to eight hours of sunlight each day. A windowsill that gets morning light is ideal. If you don’t have a good spot with natural lighting, consider using grow lights.
Check the moisture level of the soil daily. Herbs in mason jars may dry out faster than those in traditional pots, so regular watering is essential. Water when the top inch of soil feels dry to the touch.
Regularly prune your growing herbs to encourage better growth. Harvest leaves as needed, starting with the older leaves first. This will allow new growth to flourish. Cut only as much as you need to use at a time.
Once you’ve successfully grown your initial herbs, consider expanding your garden. You can easily add more mason jars with different herbs or experiment with companion planting. Mixing herbs that benefit each other can enhance growth and flavor.
Growing a DIY mason jar herb garden is a fun and easy project that will bring the flavor of fresh herbs into your home. By following this guide, you can cultivate a thriving herb garden that provides you with fresh ingredients year-round.
For more how-to guides like this one, check out our other Gardening articles.
